How to Make Beeswax Candles at Home: A Beginner’s Guide
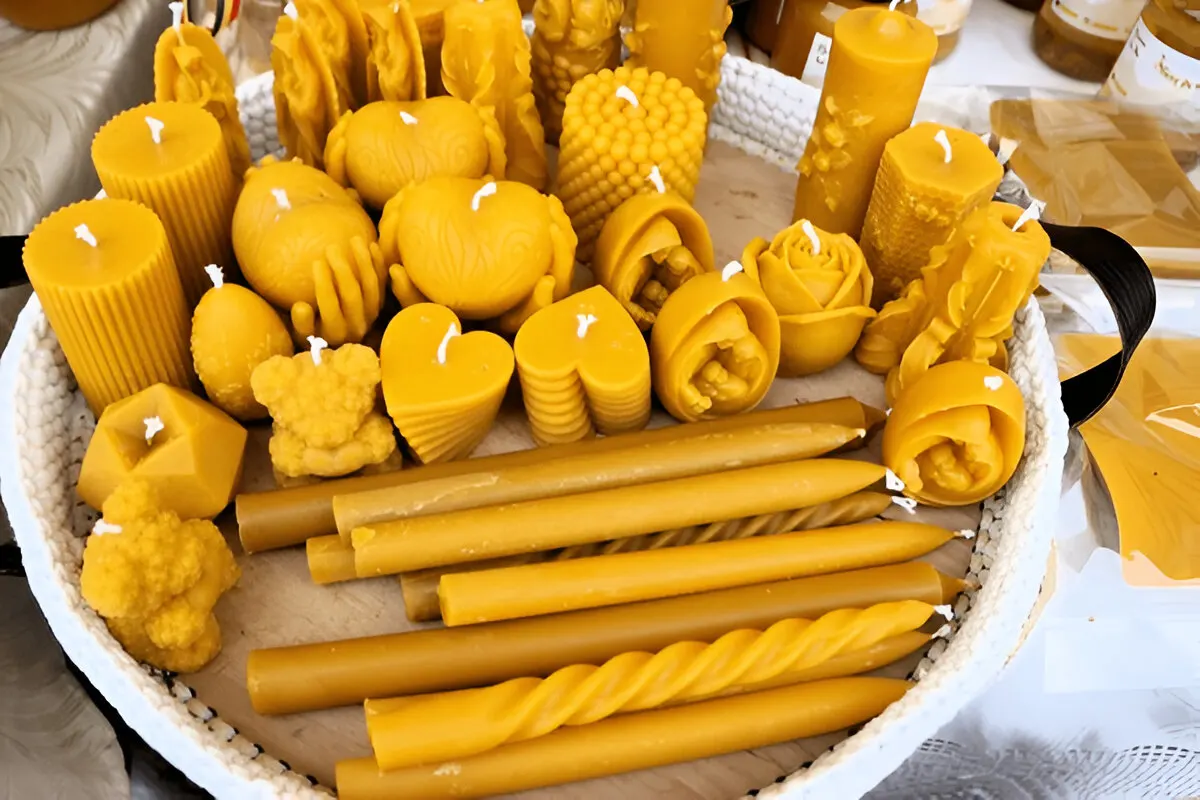
Looking to add a warm, natural glow to your home? Beeswax candle might just be what you’re looking for. They give off a soft, cosy light and a gentle, sweet scent that feels comforting. Plus, they burn cleanly and last longer without releasing harmful chemicals into the air.
Many people choose beeswax candles over regular store-bought ones because they’re made from natural ingredients and you can easily make them yourself at home. No need for fancy tools, just simple materials and a little patience.
So, why beeswax? It’s a natural wax made by honeybees. The pale golden colour of the bees wax indicates a triple-filtered wax of the highest quality. It is also free of impurities. Bees wax has a melting point of 62°C to 65°C. With its natural sweet honey fragrance, bees wax can be used alone when making candles or combined with other fragrances.
If you want the best quality, look for beeswax like the kind from AMC Supplies.
Ready to give it a try? Keep reading to know how to make your own beeswax candles at home!.
What You’ll Need
To make a basic beeswax candle, the following materials are required:
- Beeswax
- Fragrance oils (for additional scent)*optional
- Wicks (Must choose the right size wick for the container)
- Heatproof container (Glass jar or metal tin)
- Double boiler setup
- Chopsticks or skewers
How to Make Beeswax Candles
Step 1: Prepare the Double Boiler
Place a heat-safe glass jar or metal tin inside a pot of water and make sure the water is below the rim of the jar or tin to prevent water from splashing into the wax.
Heat the water on medium heat. The steam from the boiling water will slowly melt the beeswax in the container.
Step 2: Melt the Beeswax
Add the beeswax to the container in the double boiler. Stir a little while it melts. Beeswax will take a little time to fully melt. Be patient, make sure the temperature does not fluctuate. Once the beeswax is fully melted, it will appear clear and smooth.
Step 3: Add Fragrance Oils (Optional)
You can add fragrance oils after the wax is fully melted. There are many popular fragrances available such as Lavender, Sandalwood, Nectarine and Mint. For the best results, it is recommended to add no more than: Candles: 5-10% (e.g., 5-10gm per 100gm wax)
Stir well to mix the oil evenly throughout the wax.
Step 4: Prepare the Candle Container
Before you pour the wax, gently warm your candle container. This will help reduce the chances of the wax pulling away from the sides during cooling. Hot water can be used to warm the container, or the container can be placed near a heat source for a few minutes.
Pour a small amount of wax into the bottom of the container and press the wick into it. Hold the wick upright until the wax has hardens enough to hold it in place (about 5-10 minutes).
Once the wick is stable, you can rest a skewer or chopstick across the top of the container and use that to center the wick.
Step 5: Pour the Wax
Gently pour the remaining melted wax into the container, leaving about 1 centimeter of space at the top. Pouring slowly helps reduce air bubbles, resulting in a smoother finish. Ensure that the wick stays centered (as much as you can) and upright while pouring.
Step 6: Let the Candle Cool
Let the candle cool completely at room temperature; do not move the candle as it may affect the final appearance of the candle. The cooling time will vary depending on the size and material of the container, but in most cases, it’s best to let the candle sit undisturbed for at least 24 hours in the container before using.
Step 7: Trim the Wick
Once the candle has cooled and hardened, trim the wick to about 1 centimeter above the wax. The wick should be cut correctly as it allows the candle to burn evenly and prevents the flame from becoming too large.
Tips for Success
- Use clean, filtered beeswax – Triple-filtered beeswax like the one from AMC Supplies, burns cleanly and has a pleasant natural scent.
- Choose the right wick size – The wick size should match the diameter of the container. Using a wick that is too small or too large will cause an uneven burn.
- You can try different scents – Different fragrance oils can be mixed to create custom scents. Try different combinations to find a favorite.
- Test in small batches – When trying a new scent or container, make one candle first to see how it performs.
Other Uses for Beeswax
Beeswax is a very versatile material. In addition to candles, it can be used for:
- Lip balms
- Body butters
- Natural cosmetics
- Furniture polish
- Wooden drawer and window lubrication
- Preserving metal or wood finishes
Buying Australian beeswax makes it easier to try different DIY projects at home.
Final Thoughts
Beeswax candles are fun to make and are a natural, healthy alternative to store-bought candles. Beeswax candles are also a great way to make beautiful candles that fill the home with warm light and a soft, honey-like scent.
This beginner-friendly process can be done in any kitchen and does not require special skills. Start small, follow the steps, and enjoy the natural beauty of handmade beeswax candles.
FAQs
To make a beeswax candle, melt beeswax in a double boiler. And if you like, add fragrance oils. Put a wick in a heat-safe container, pour in the melted wax, and wait 24 hours before trimming the wick and lighting it.
Let beeswax candles cool for at least 24 hours before using them. This gives the wax time to fully harden. If used too soon, the candle may not burn well or evenly. Waiting also helps the wick stay in place and makes the candle last longer.
Consider using a durable heat-safe container such as a glass jar, metal tin or a ceramic bowl. The container should be able to handle hot wax without breaking. Do not use thin plastic or glass as they can melt or crack when the wax is poured or the candle is burning.